
Reviewed and updated: October 18, 2026
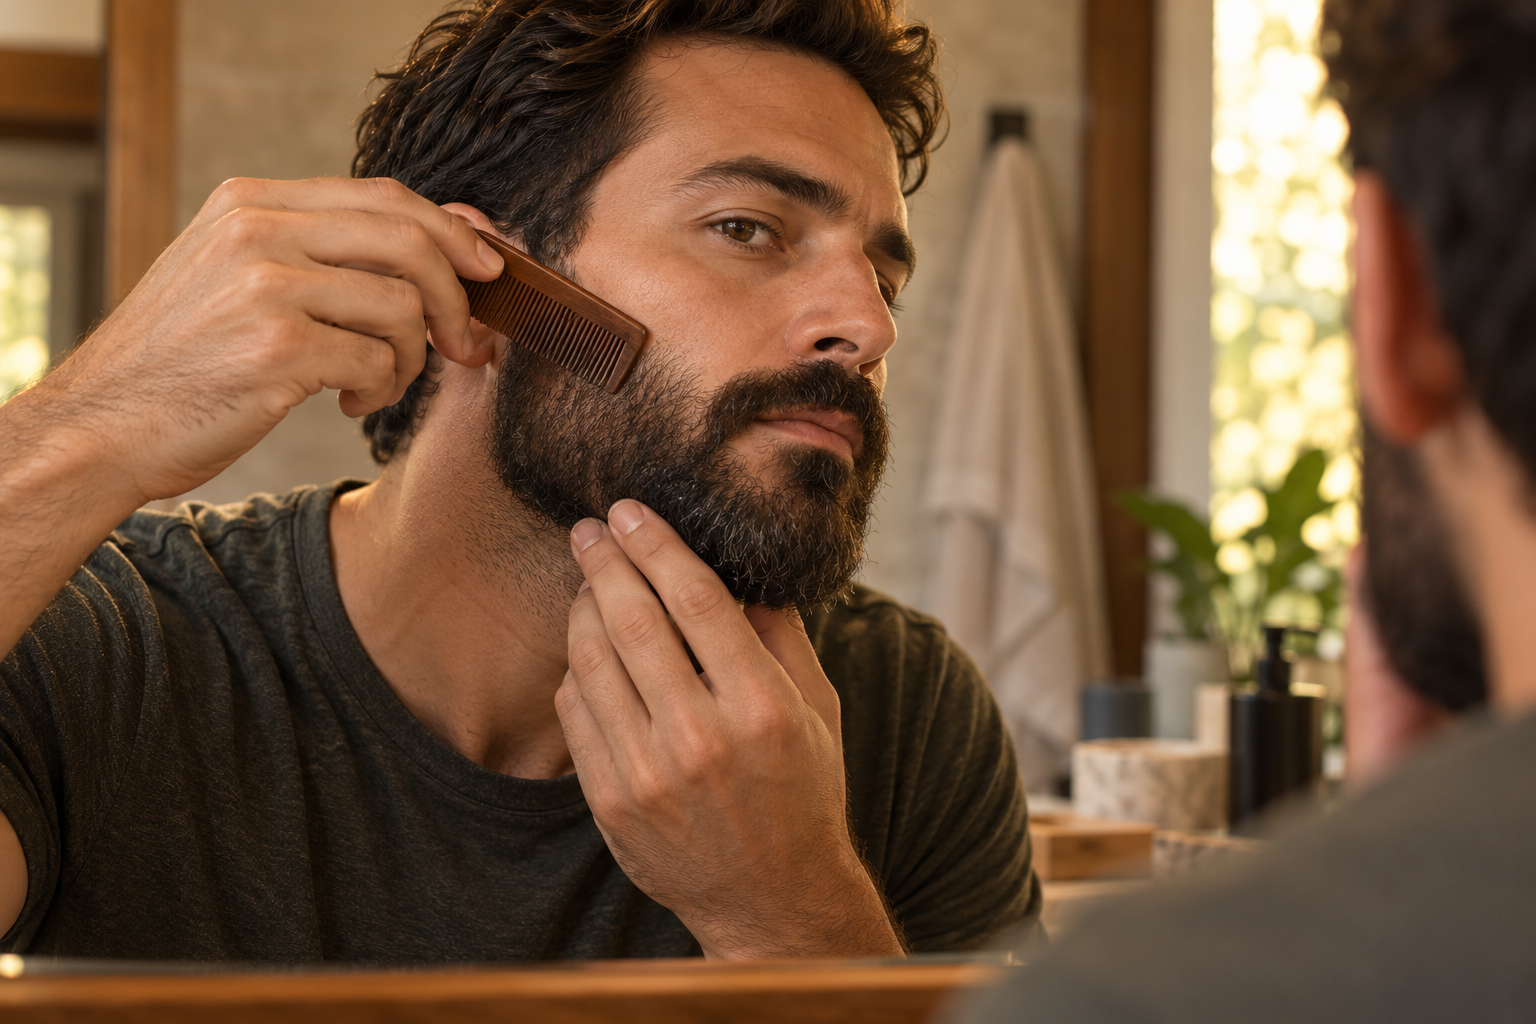
A good cheek line follows the beard you can grow consistently. Map it in normal light, remove only obvious strays, and judge both sides from conversational distance before taking more off.
This guide was reviewed against current official product information where a model is discussed. Specifications and packages can change, so verify the exact label or manufacturer page before acting.
Start with the beard at its normal length
Wash and dry the beard the way you usually wear it, then wait until the hair settles. A wet beard can look longer and denser, while freshly brushed hair may temporarily hide gaps. Work in bright, even light and take a straight-on photo before touching the line. That starting picture matters because the eye quickly adapts to each small change. If the beard is still growing in, give it enough time to reveal its natural upper boundary before deciding that the line needs correction.
Find the natural boundary
Look for the transition between dependable beard growth and isolated hairs. The goal is usually to clean the scattered hairs above that transition, not to carve a ruler-straight stripe through the densest growth. Trace the boundary with the corner of a comb or a washable grooming pencil. Keep the line slightly higher than your first impulse. A high natural line preserves visual weight around the cheeks and gives you room to correct small asymmetries later.
Choose a curve that fits the face
Many natural cheek lines rise gently from the mustache area toward the sideburn. A severe downward scoop can make the beard look thin, while a perfectly straight line can fight the direction of growth. Use the stronger side as a reference, but do not force both sides into identical geometry. Faces and follicles are asymmetric. The useful target is balance when viewed from the front and three-quarter angles, with each side following the growth that is actually present.
Remove strays in small passes
Begin with the few hairs clearly above the mapped boundary. Use clean equipment, light pressure, and short passes in a direction the tool manual permits. Pause after every small section, brush the beard down, and step away from the mirror. Magnifying mirrors encourage overcorrection because every hair looks important. If skin becomes warm, irritated, or repeatedly scraped, stop. A slightly soft line generally looks more natural than a sharp line surrounded by redness.
Blend instead of drawing a wall
Sparse upper hairs may need a short guarded blend rather than complete removal. Start with a longer guard and work only along the upper edge, keeping the bulk below untouched. This creates a softer transition between cheek skin and the main beard. Record the guard setting if the result works. Never press a flexible guard hard against the face to chase an even shorter finish; pressure changes cutting length and can create a visible notch that takes weeks to fill.
Compare both sides from a distance
Stand several feet from the mirror and check the beard while your face is relaxed. Turn left and right, then use a phone photo rather than relying only on the reversed mirror image. Compare the highest point, the connection to the mustache, and the amount of visible cheek between beard and eye. Correct only the feature that looks clearly unbalanced. Tiny differences disappear in ordinary conversation, while repeated attempts to make them perfect often lower both lines unnecessarily.
Protect the skin after edging
Rinse away loose hair and use a simple fragrance-free moisturizer if your skin tolerates it. Avoid immediately applying strong fragrance, acids, or alcohol-heavy products to freshly edged skin. Clean and dry the tool as directed, and do not share it without appropriate sanitation. Recurrent bumps, painful ingrown hairs, rash, or persistent irritation deserve a change in technique and, when needed, advice from a dermatologist rather than ever-closer trimming.
Let the line grow between decisions
A cheek line rarely needs daily redesign. Remove obvious new strays as needed, but reassess the main shape only after enough growth is visible. Keep the original photo and note the guard or tool used. If you take the line too low, stop correcting it and allow several weeks of growth before reshaping. Consistency makes a beard look intentional; a stable, slightly imperfect natural boundary usually looks better than a line that changes every few days.
Quick checklist
- Photograph the natural line before trimming.
- Mark the boundary above dense growth.
- Remove only obvious strays first.
- Compare both sides from several feet away.
- Use a longer guard for a soft blend.
- Stop when skin or symmetry becomes uncertain.
Why these checkpoints matter
- Photograph the natural line before trimming. This defines the starting condition and prevents the rest of the process from resting on an assumption.
- Mark the boundary above dense growth. This narrows the choice to evidence you can verify on the exact label, model, or scene.
- Remove only obvious strays first. This checkpoint reduces avoidable risk before another variable is introduced.
- Compare both sides from several feet away. This keeps the routine compatible with the person, product, material, or equipment involved.
- Use a longer guard for a soft blend. This creates a repeatable step instead of relying on memory or marketing language.
- Stop when skin or symmetry becomes uncertain. This final review catches changes in condition, availability, or instructions before the next use.
Common questions
Should a cheek line be perfectly straight?
Usually no. A gentle line that follows dependable growth tends to look fuller and more natural.
How often should I reshape it?
Tidy obvious strays as needed, but avoid redesigning the full line every day. Let enough growth return to judge the boundary.
What if one side grows higher?
Aim for visual balance, not identical coordinates. Lower only the clearly higher side a little, and preserve as much dense growth as possible.
Keep the decision useful
Write down the exact model, label, starting condition, and result. Change one variable at a time and return to the official instructions when anything is unclear. A short record makes the next decision easier and keeps an isolated result from becoming a rule that does not fit a different product, person, material, or environment.
Review the information again before repeating the process. Stop when comfort, safety, condition, or the manufacturer’s instructions provide a reason to stop. A useful routine stays simple because every step answers a real question.
For the next attempt, note what improved, what remained uncertain, and what should stay unchanged. This final check reduces guesswork and helps small problems become visible before they turn into repeated mistakes.
Keep the original instructions, model information, and observations together. Before repeating the process, confirm that the product, setting, environment, and intended result are still the same.